

This little post has been sitting here waiting for quite some time for me link everything to post it (it has a bunch of unfinished friends too) but after MANY requests it's FINALLY here!
This DIY project makes such a huge impact for being so incredibly easy! Backsplash can get super pricey but depending on the size of your kitchen this project can easily be done for under $50! Other options can be twice if not triple that cost.
First off you'll want to gather your supplies:
- Faux Brick panneling- We have the brick in two different places in our house. . . one is from Lowes and the other Home Depot. Both will work but they just have different brick colors. The amount with obviously vary by where you are doing your project. We got away with using only one sheet!
- Rustoleum Chalk Paint in Linen White- I'll admit I haven't tried the more expensive chalk paints because we found this and LOVE it but you can use other chalk paints if you have them on hand
- Saw- oh and I guess I should include safety glasses too if you don't walk on the wild side like we do around here
- Caulk
- Trim
- Drywall Screws
- Measuring Tape
First, before you go buy the brick, measure your space. You'll want to make sure you can fit as many pieces on the pannel as possible and have the bricks face the correct way. Measure measure measure! Draw out your pieces with chalk pencil and cut them with your saw. We caulked ours to the wall and then went back and screwed them on.
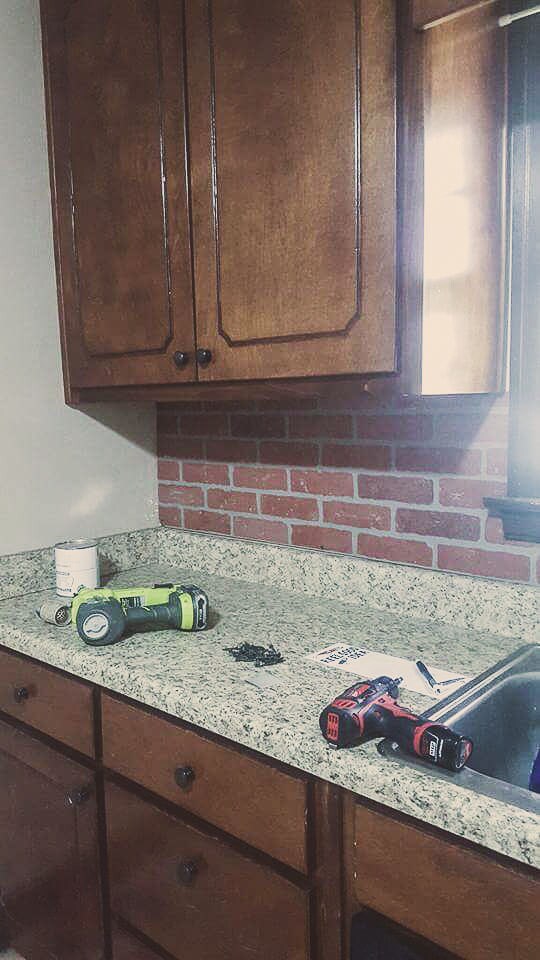
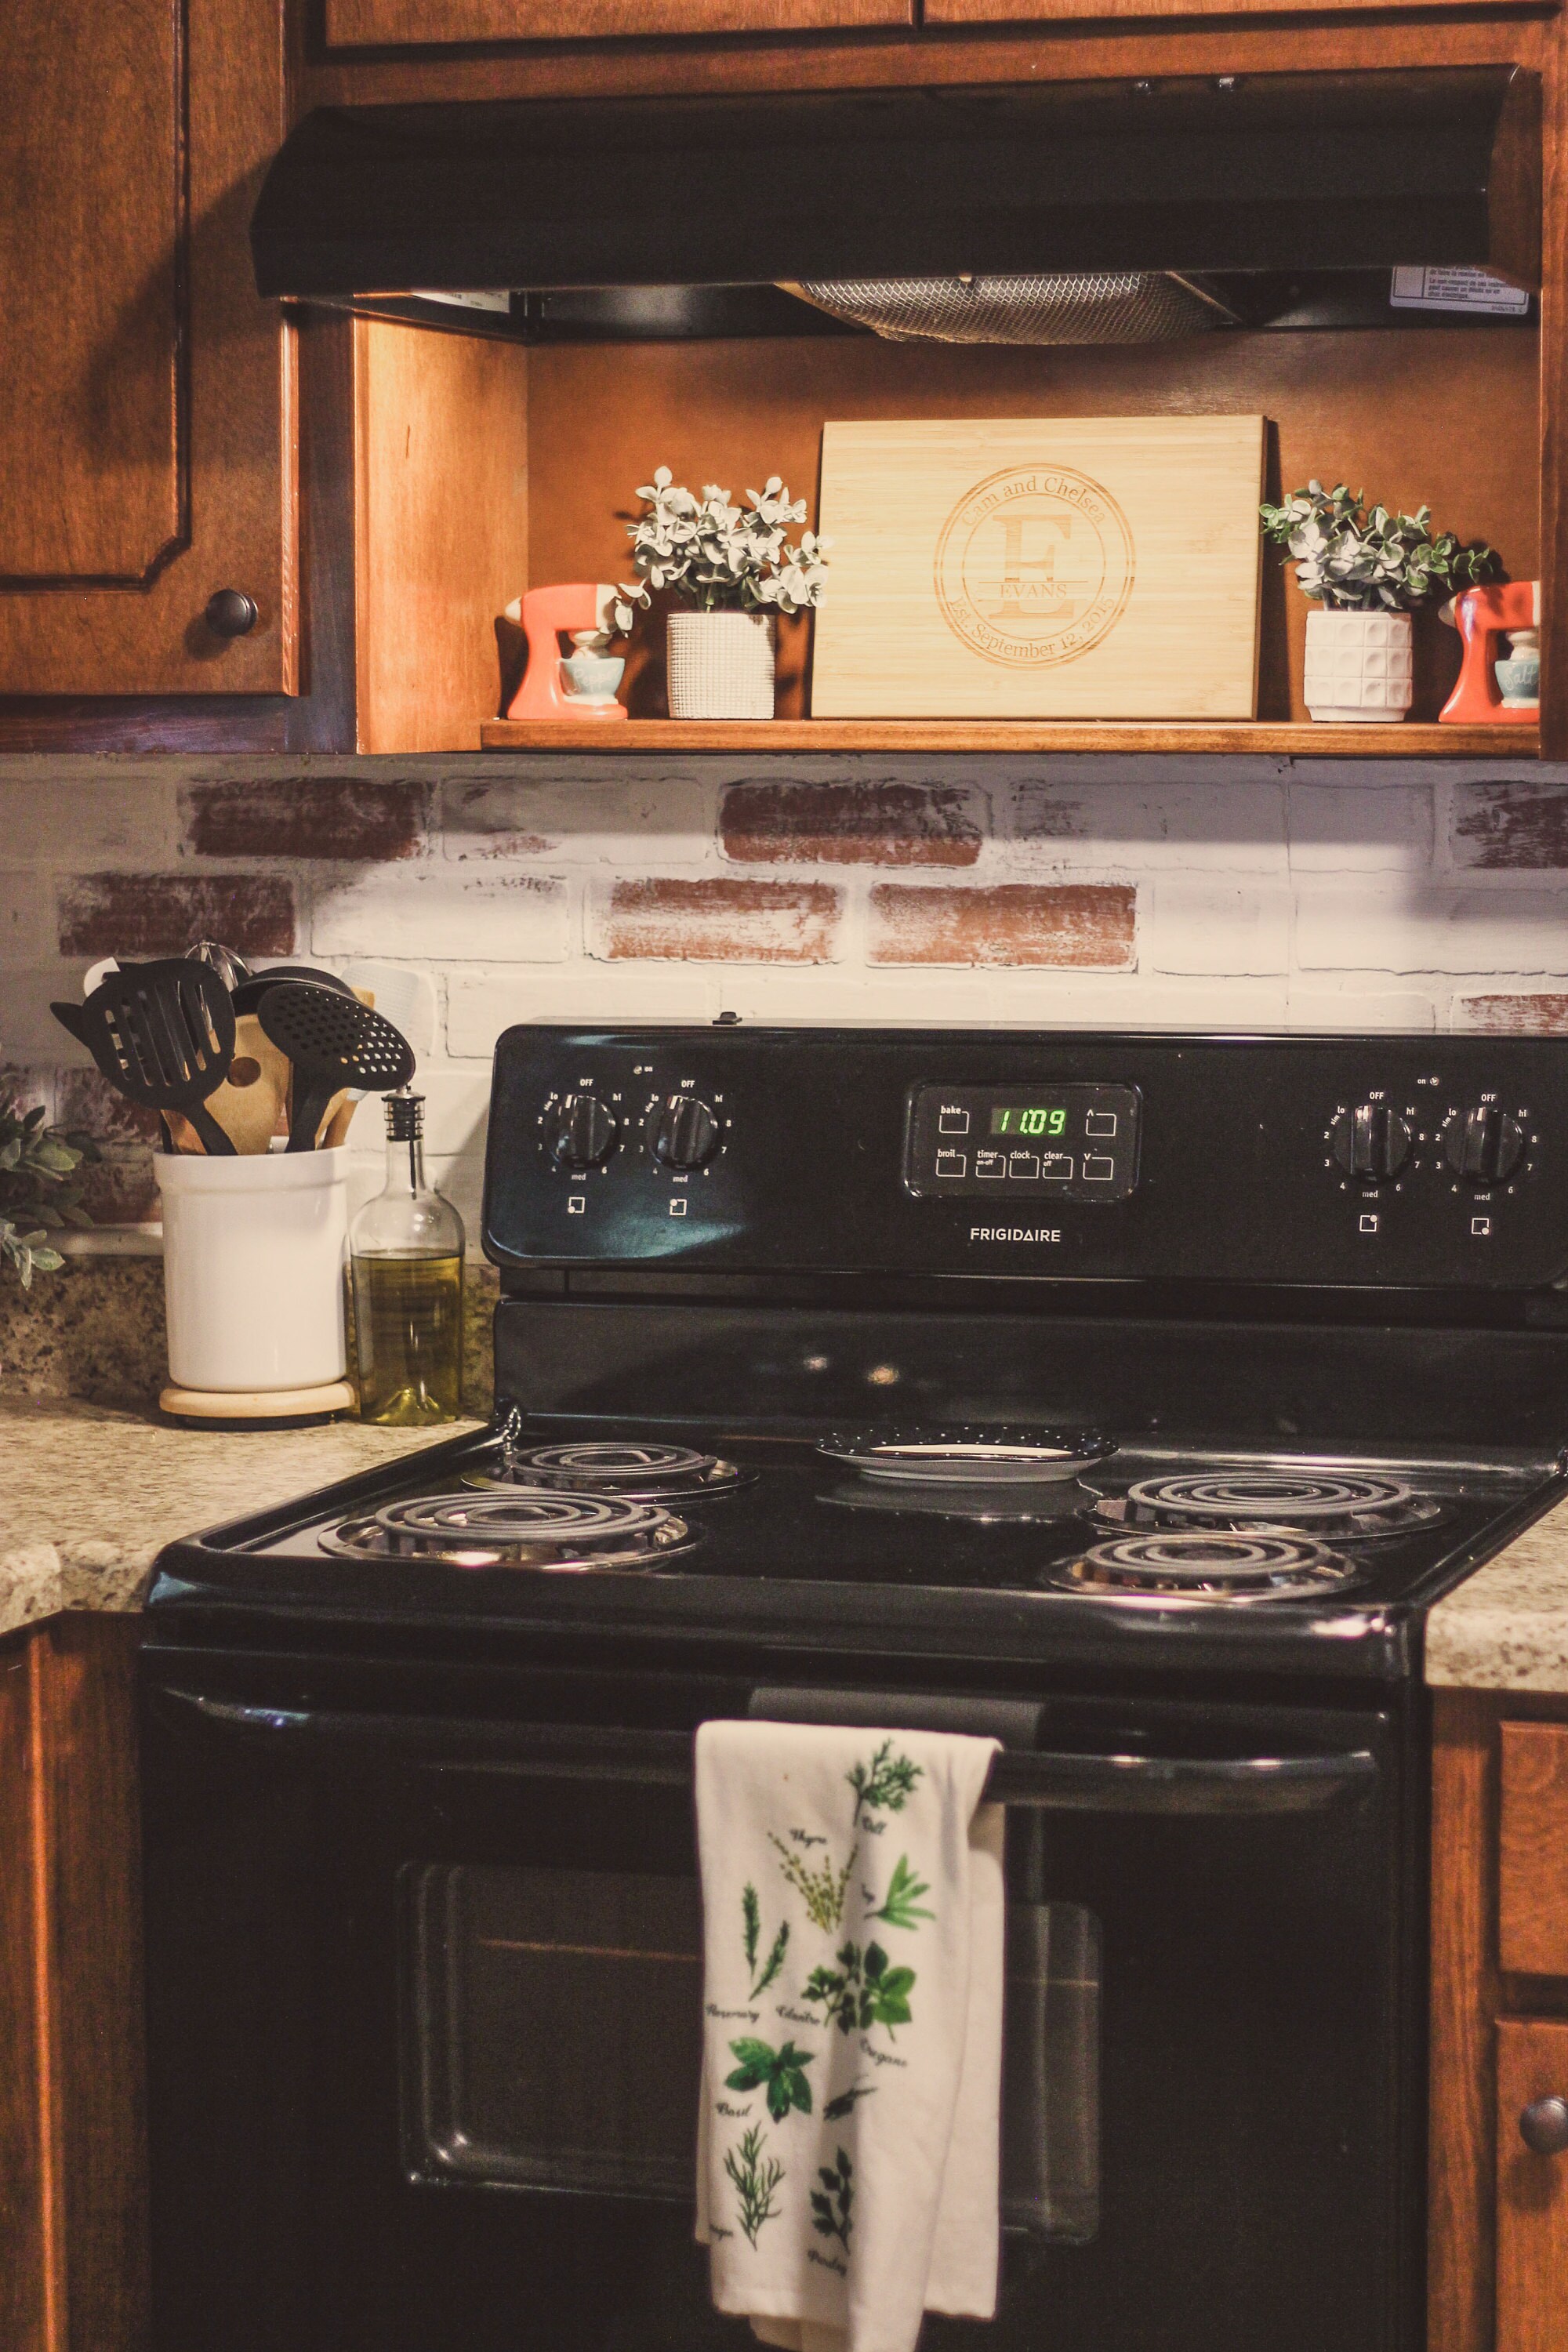
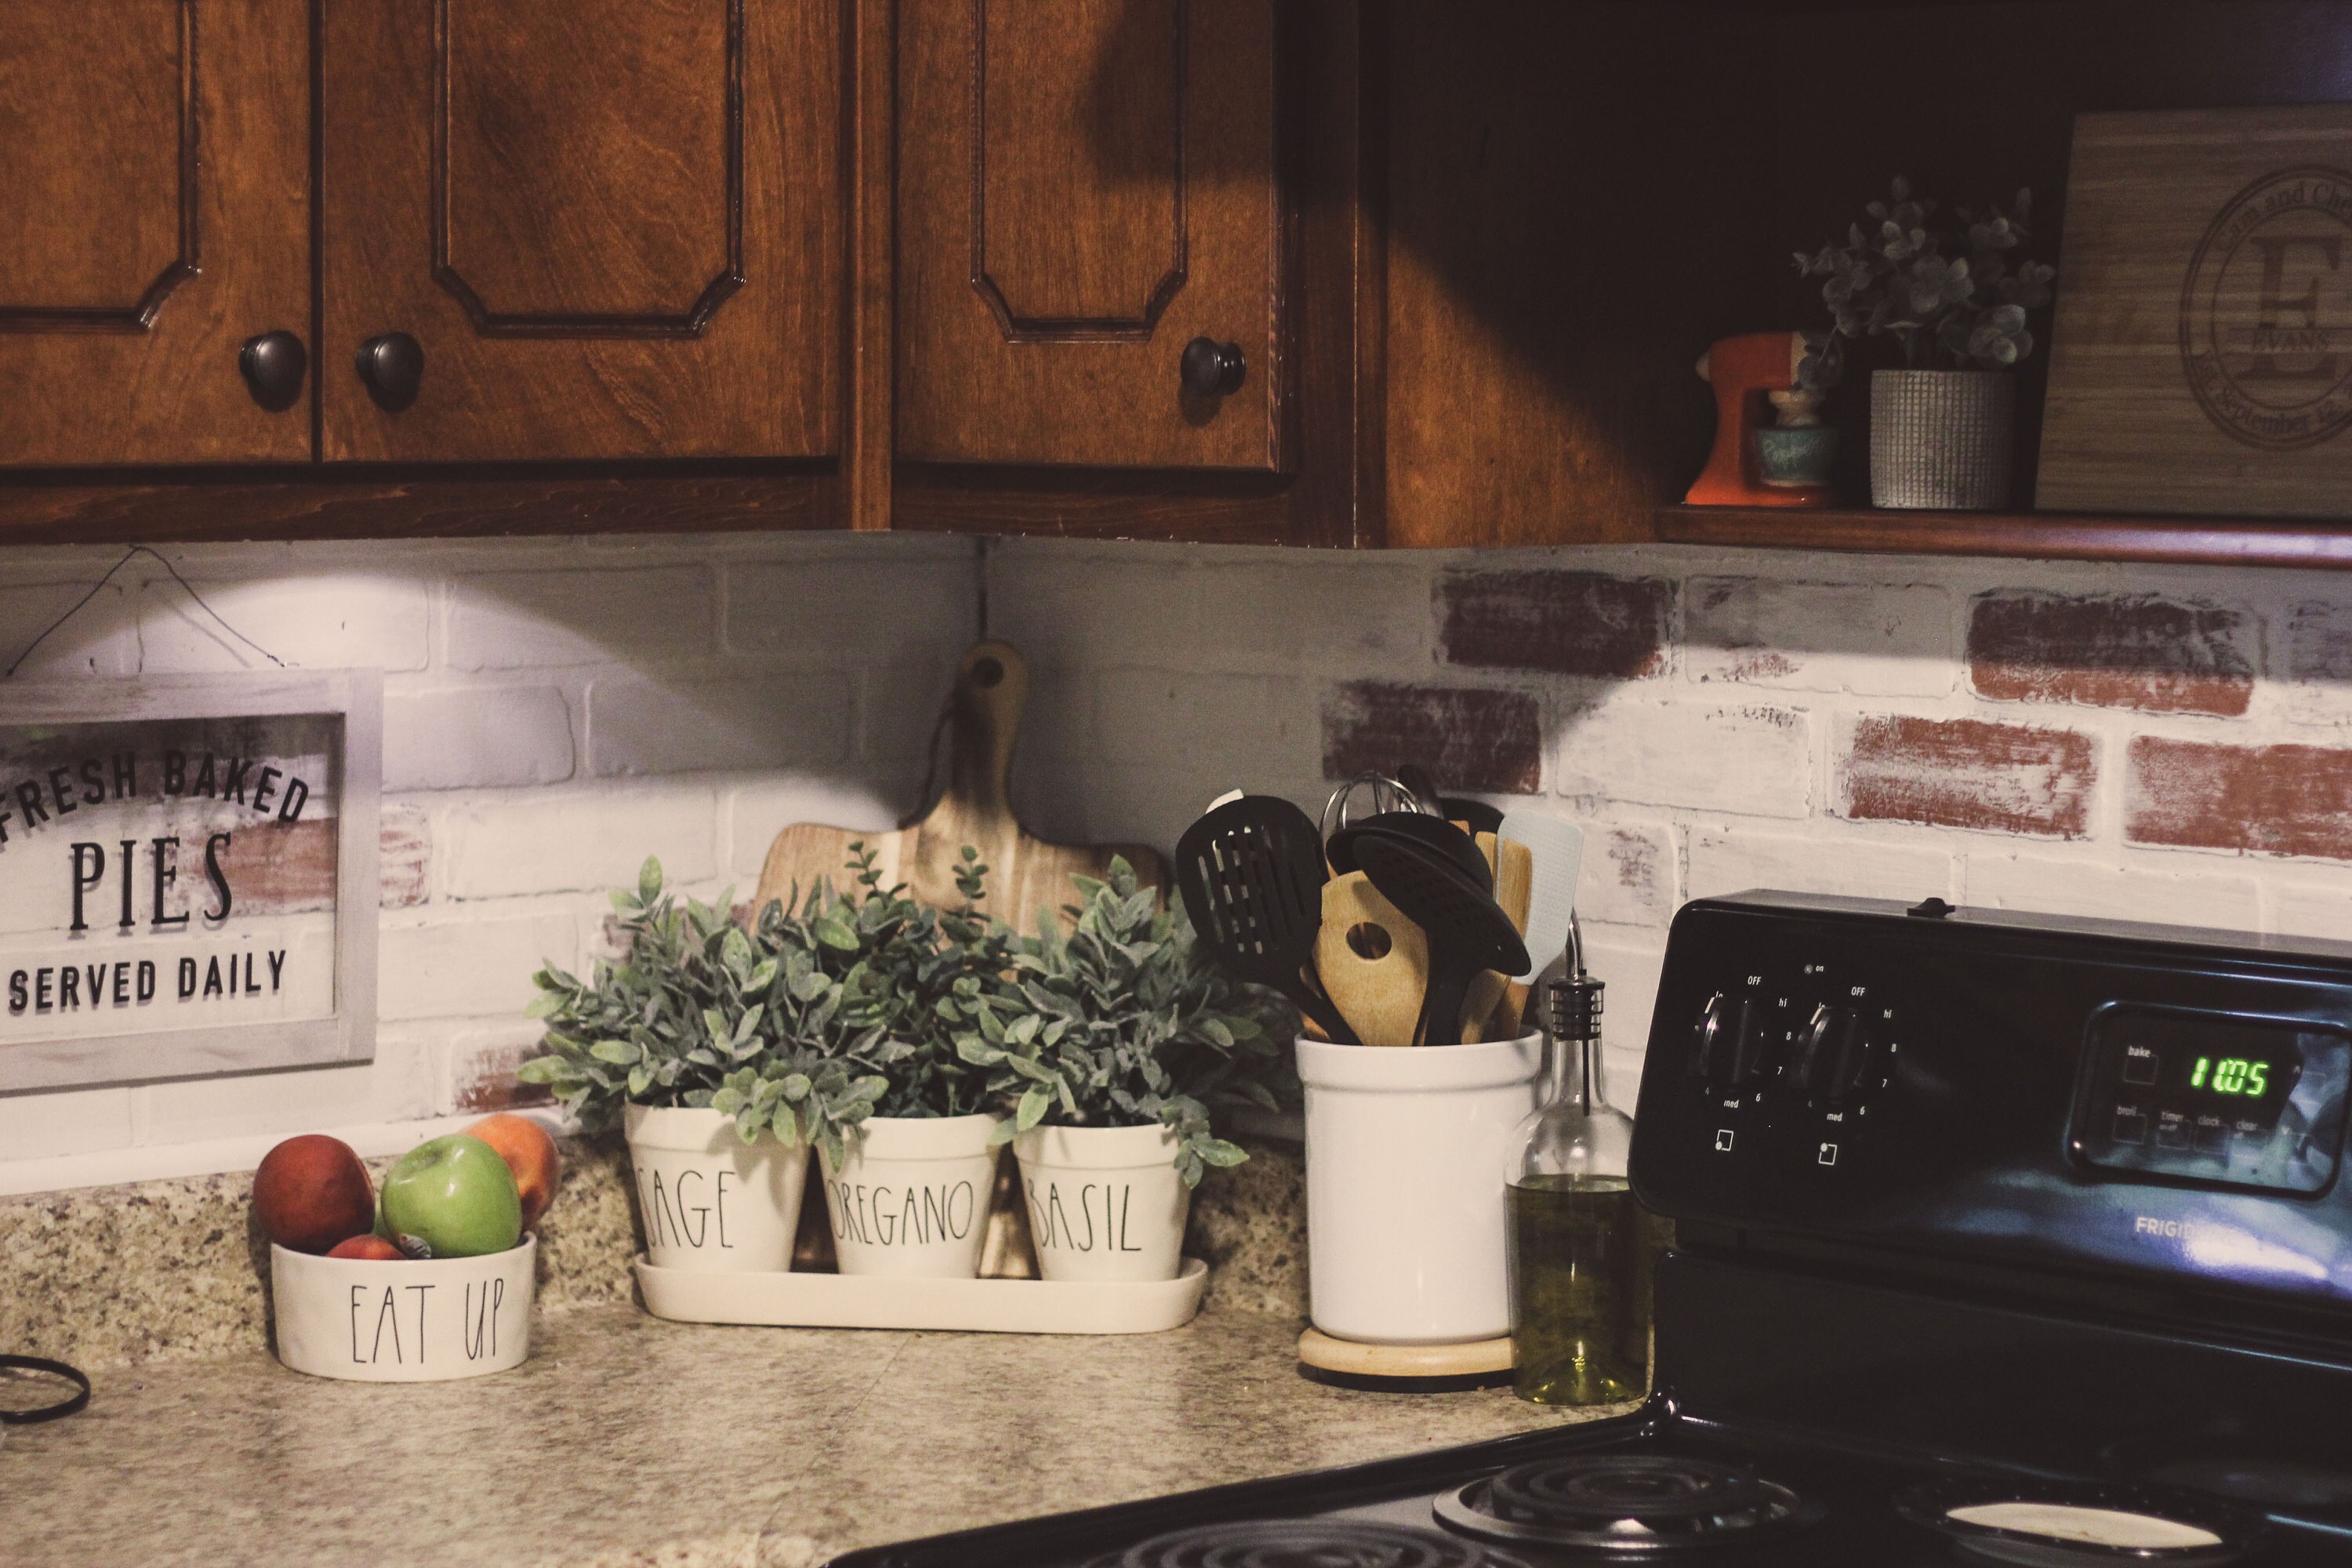
The next step is the trim. This gives it that finished look to connect it visually with your counter tops. For this we used the nail gun.
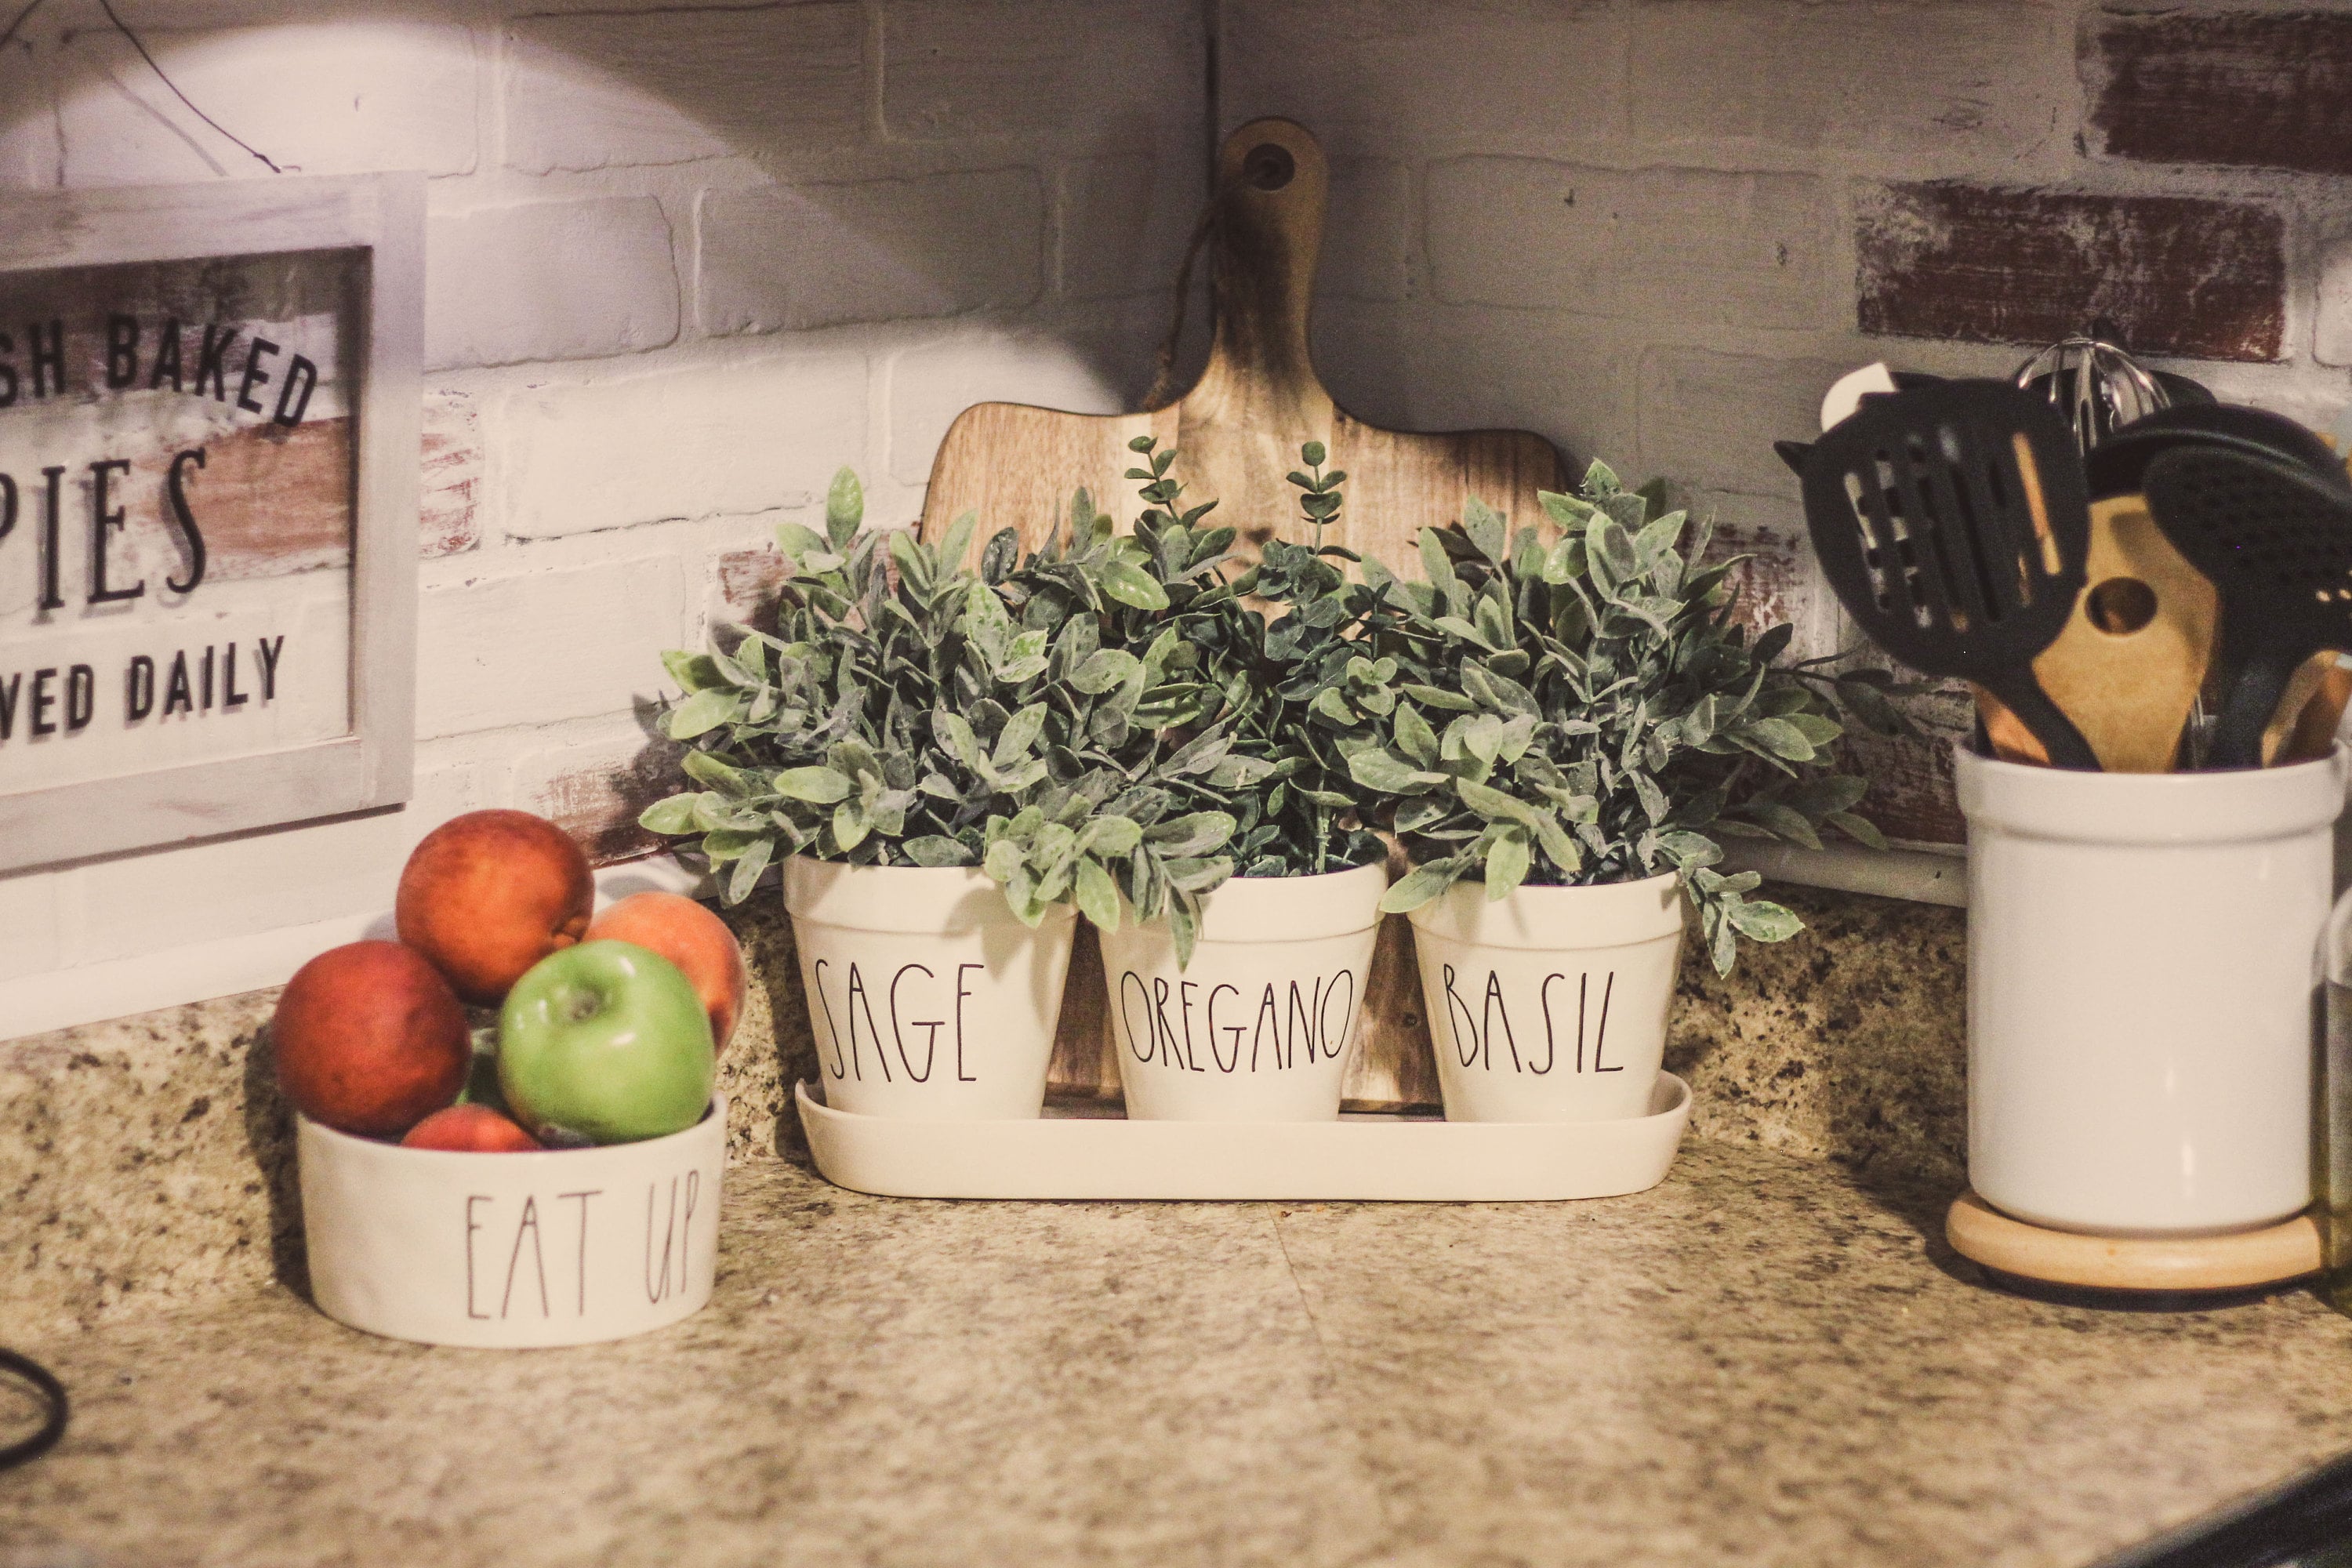
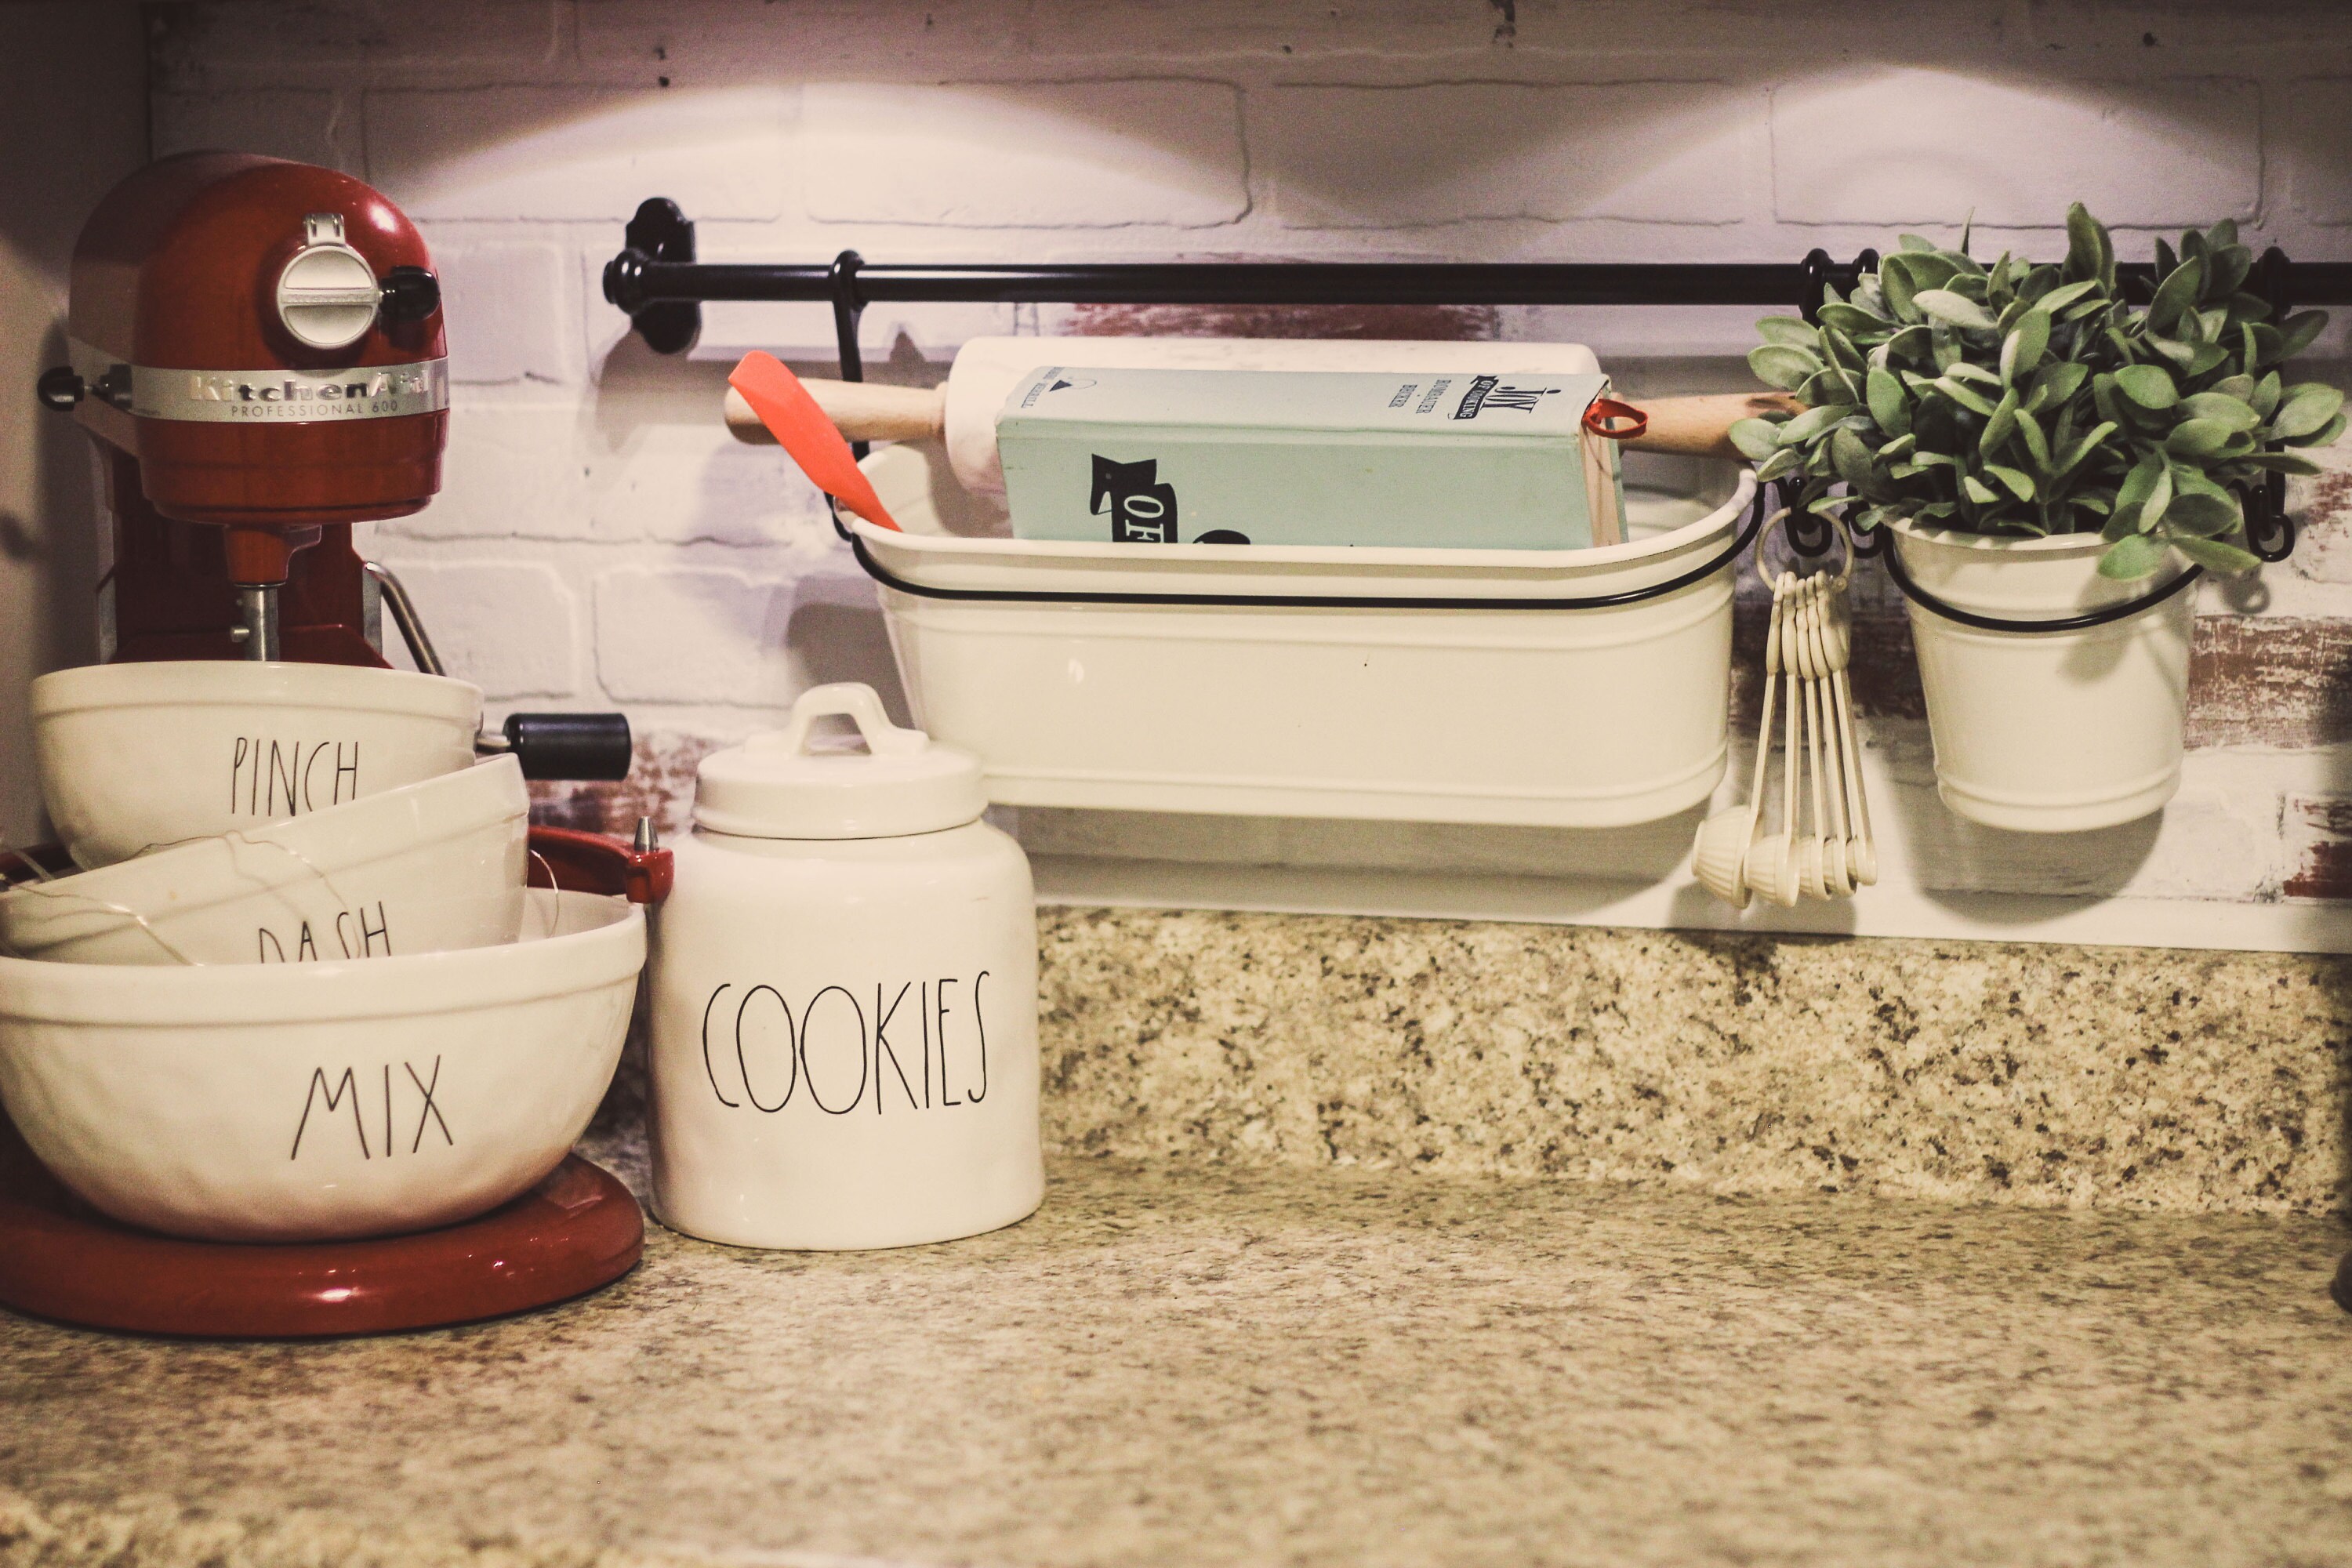
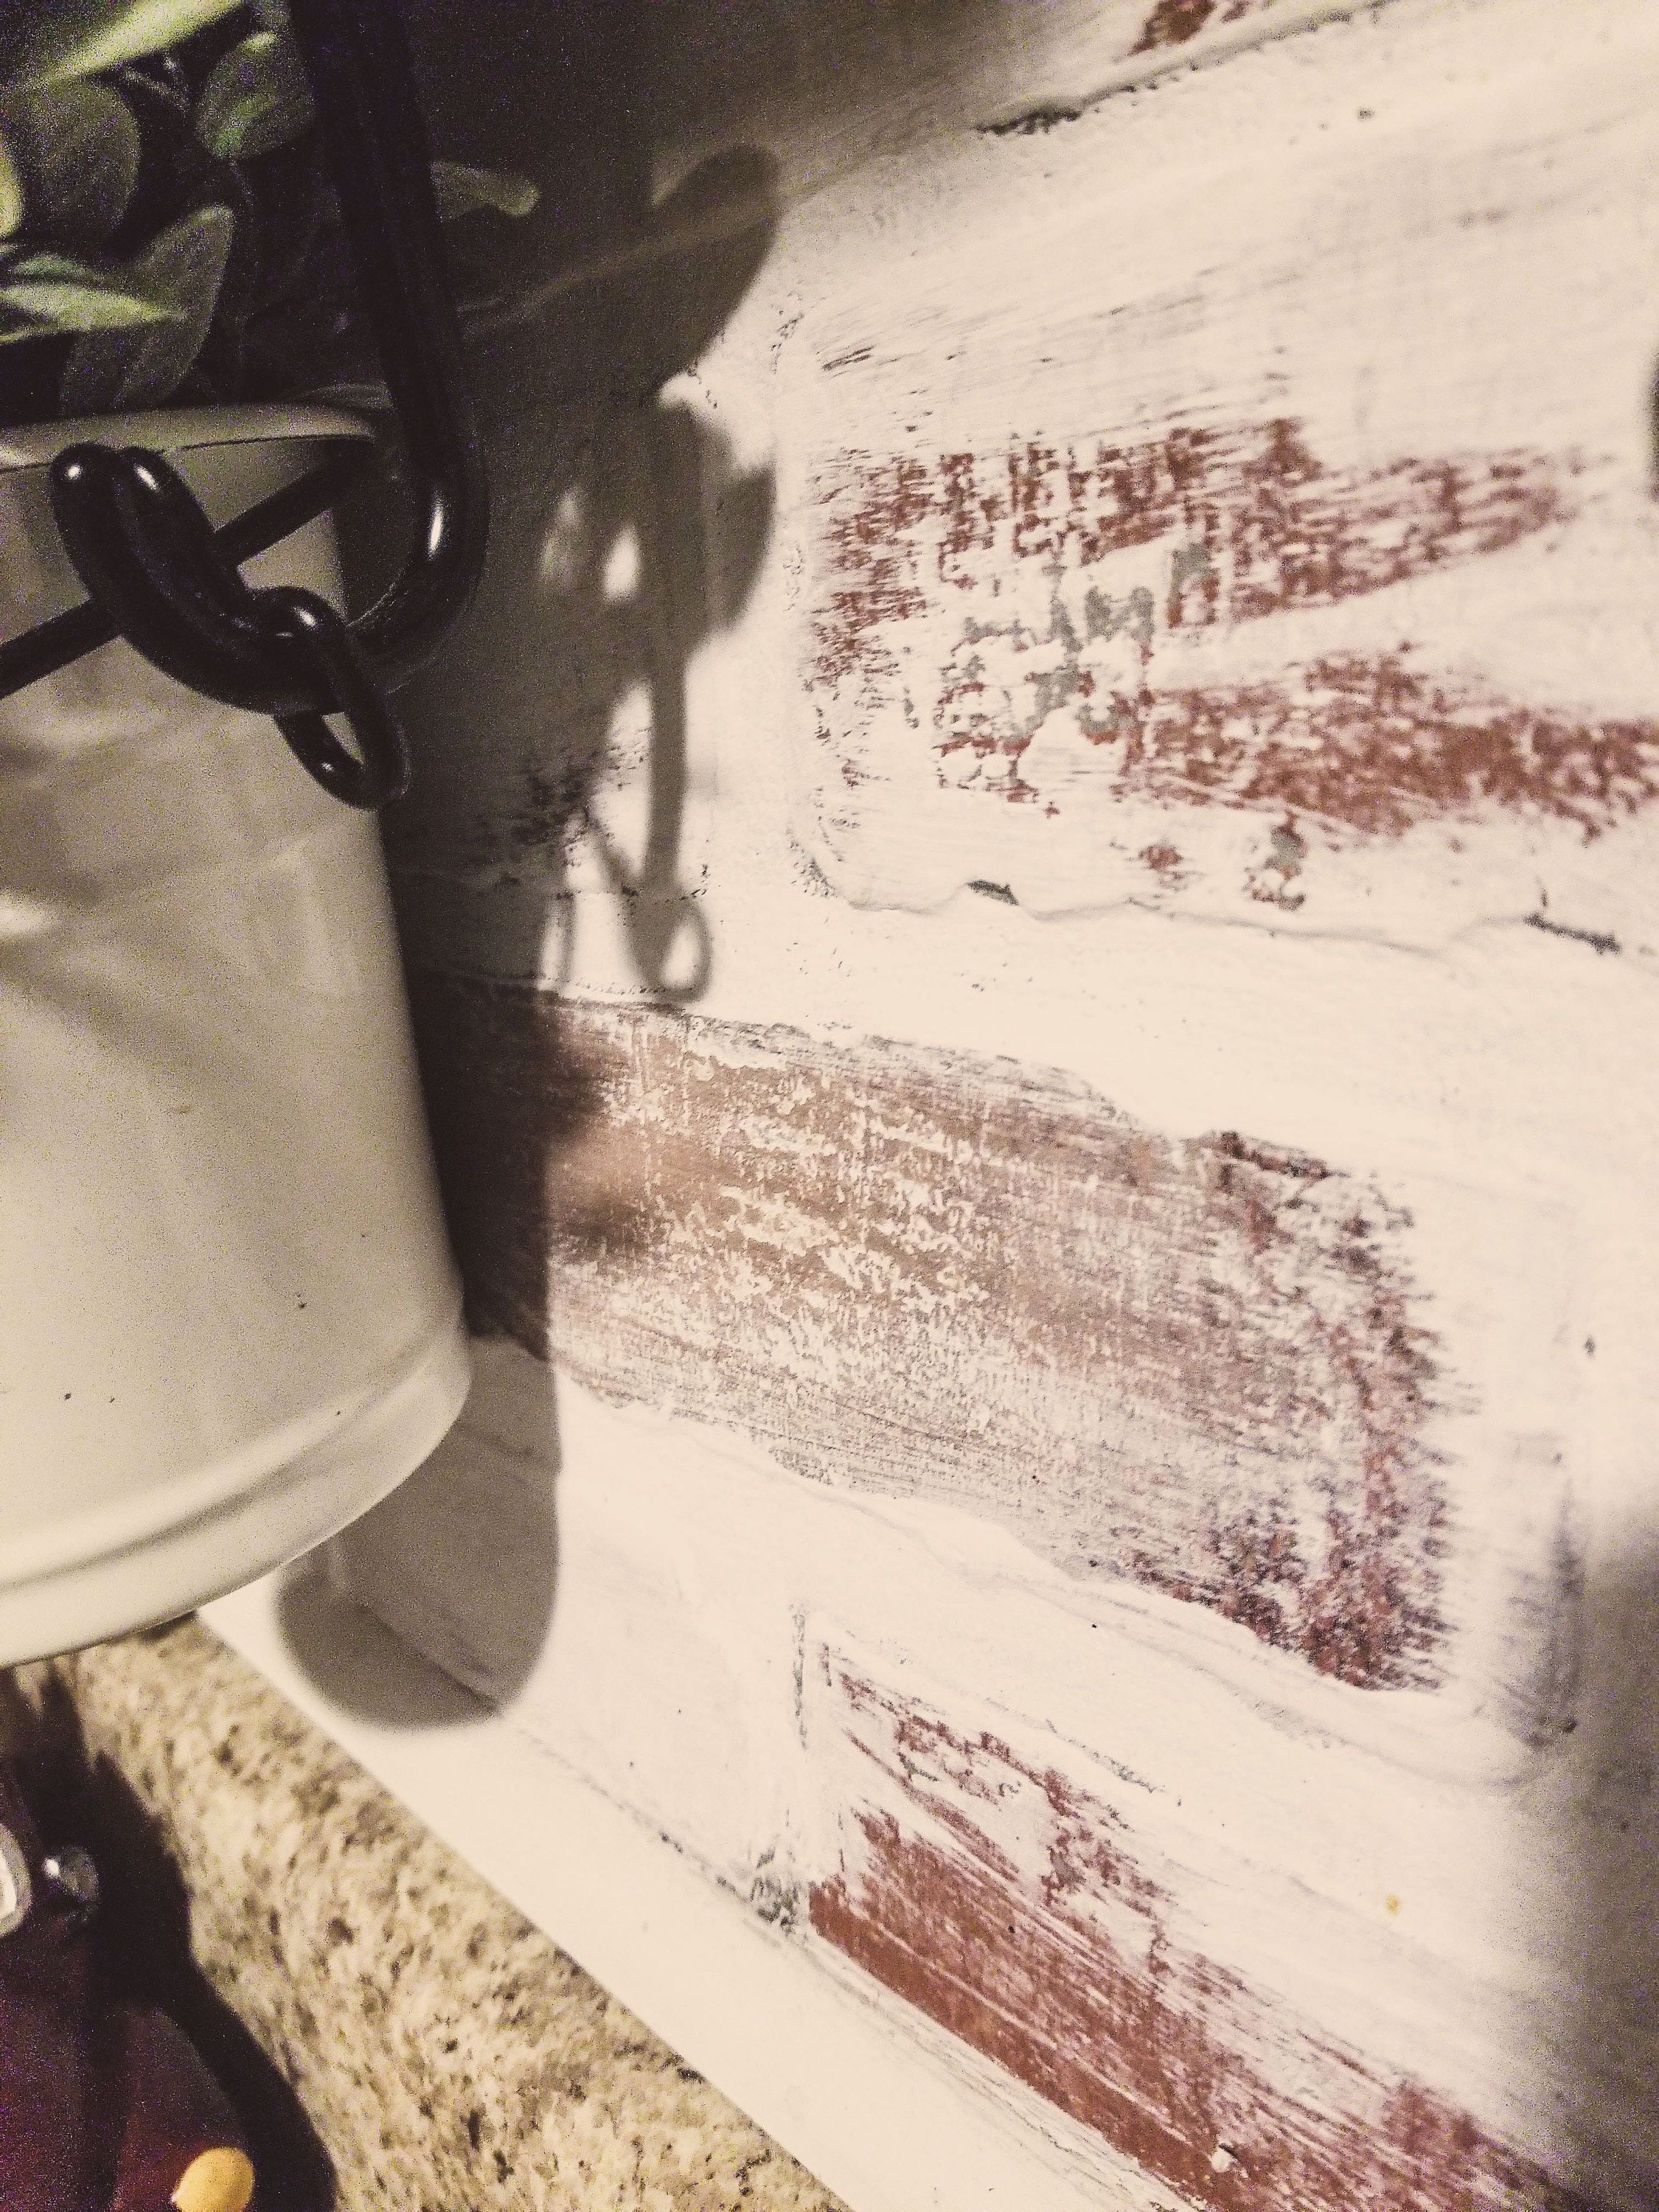
The next step is to paint! This part can be intimidating but I promise its super easy. I wanted more white for our backsplash so i went through painting most of it white, leaving a few bricks here and there the natural brick. Once i was satisfied with that amount I wiped my brush with a dry paper towel getting most of the paint off (leave a little though!) and dry brushed over the exposed bricks so they don't stick out like a sore thumb. The best thing about this chalk paint it it takes hardly any time to dry. It was almost dry by the time I got to the other side of the Kitchen.
And viola! Kitchen backsplash on a budget! I hope you found this easy and can't wait to see all the brick work you do ;)
XO-Chelsea