
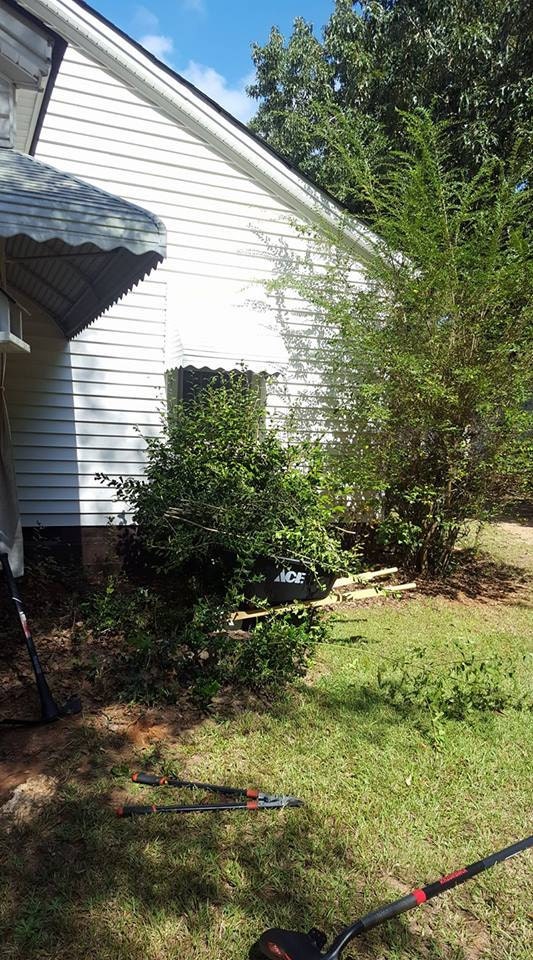
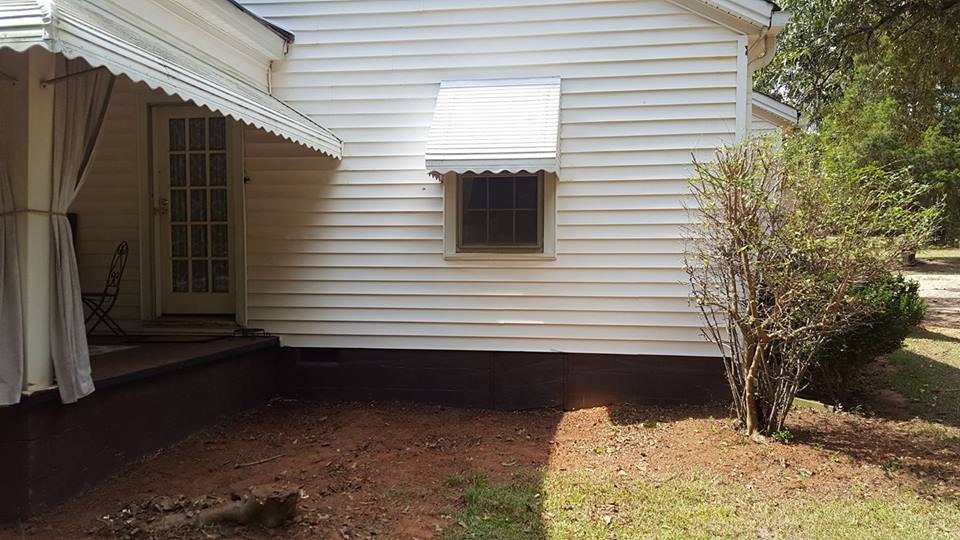
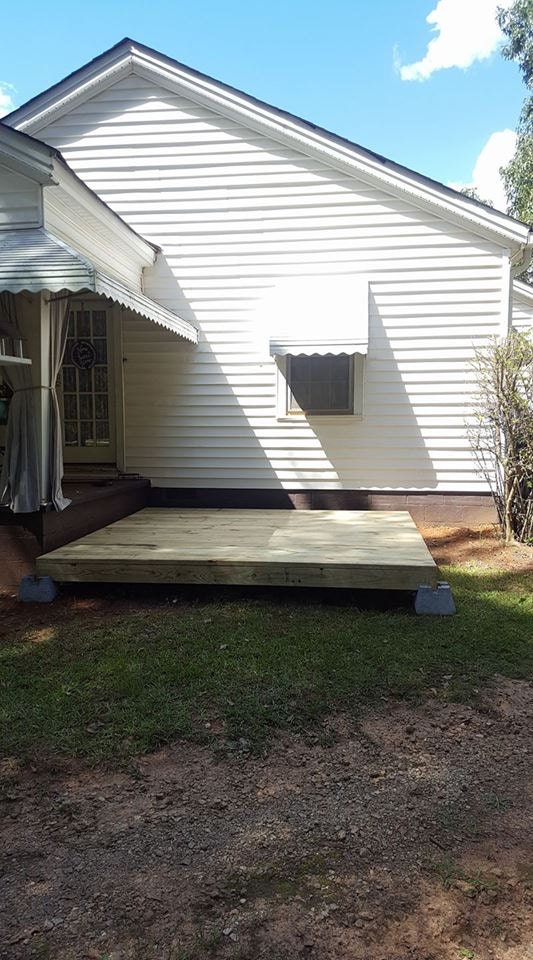
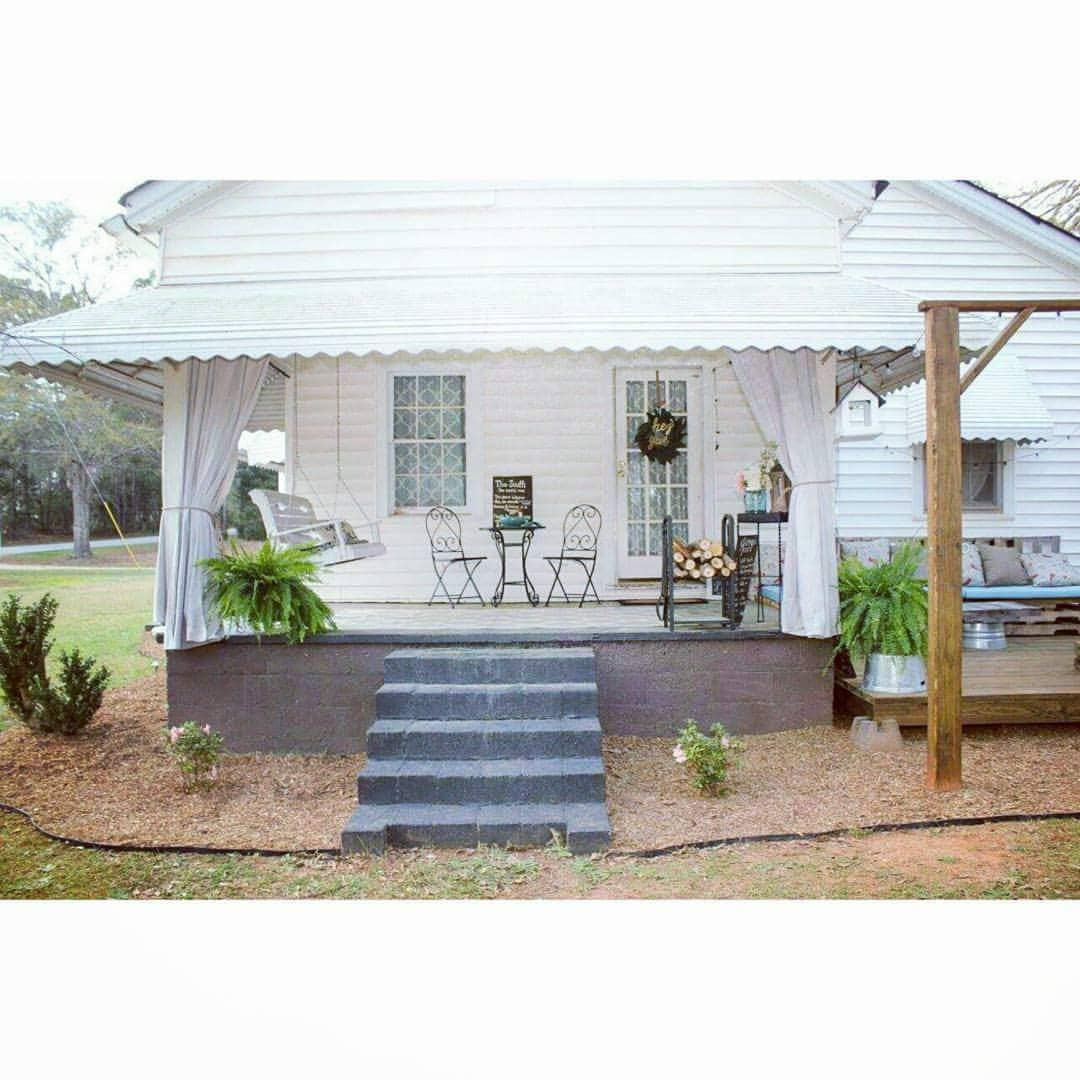
BEFORE

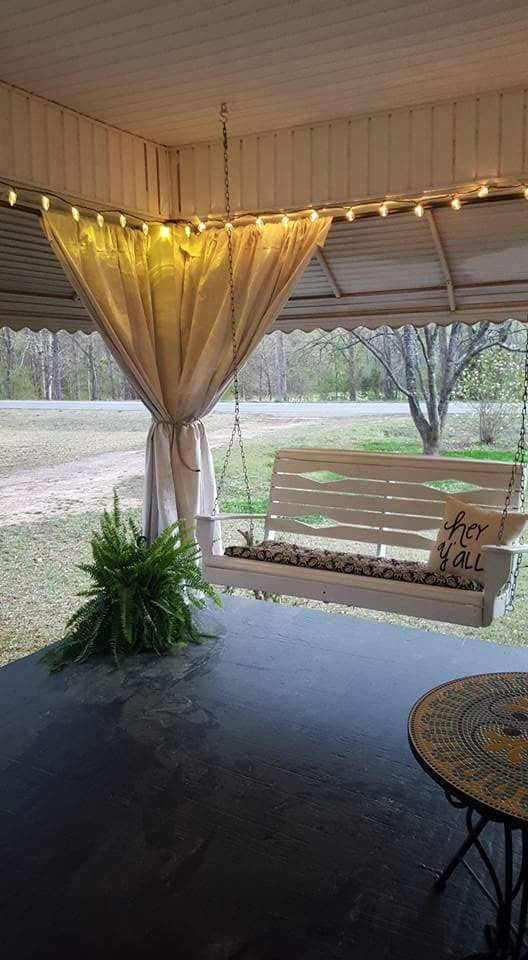
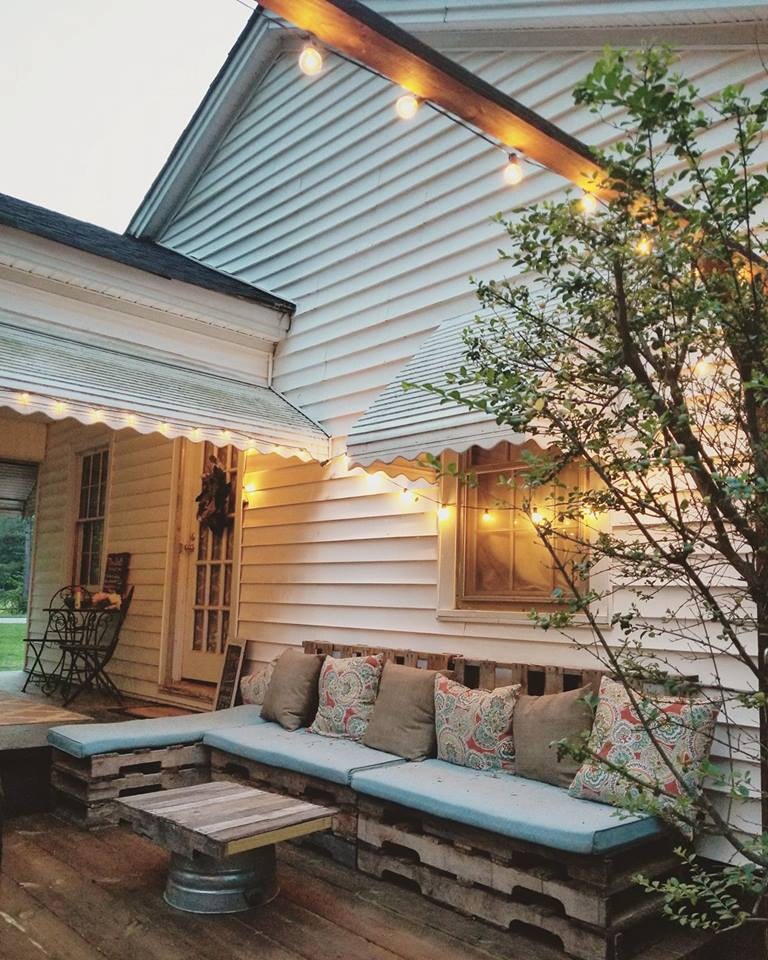
All work and no play is BORING! Am I right? I promised this blog wouldn't be all about work so I'm excited to share my area where I unwind. It also happens to be where I take 80% of my photographs for my website so it's totally related (not really but shake your head yes ;) ).
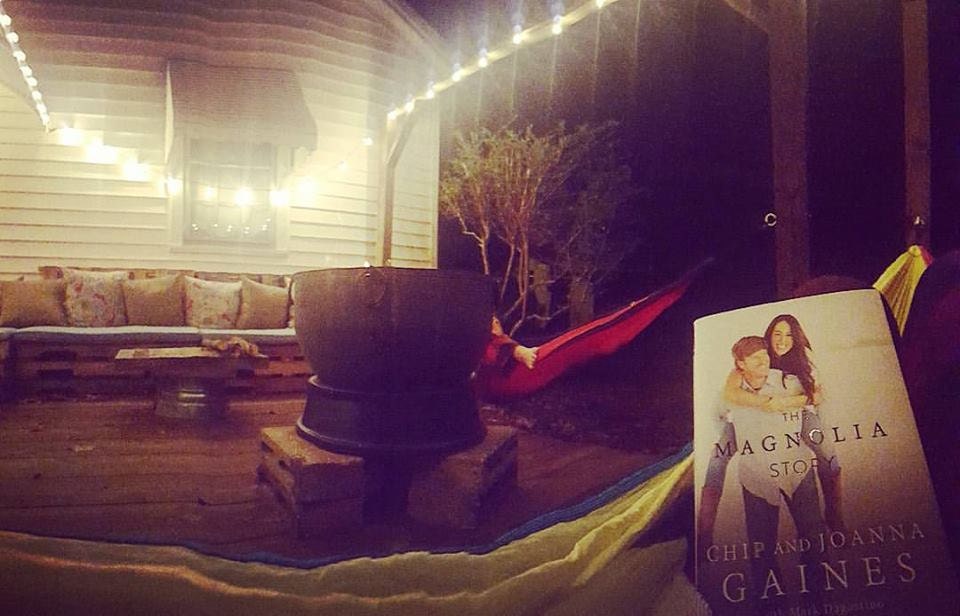
This little outdoor oasis we (98% my husband) created is one of our proudest projects. It started with an idea while we were on the porch swinging. I thought it would be cool to have a separate lounging area off of the porch. In that moment it was just a far off project because we ran the numbers and they were a little high. Initially the "vision" included brick pavers (Joanna Gaines buzzword) but that was quickly shot down because A. they're pricey and B. there were a lot of other steps we'd have to take to make it permanent. So back to the drawing board we went. My husband spend a lot of time on the Home Depot website going through the measurements and the costs and we finally had a number to work towards to save.
Our little house was built in 1949 so it has a lot of history in the yard (by history I mean multiple bushes in one spot, because past owners thought they got it all up before replanting a new one over an old one). We had a lot of clearing out to do before we could even start. That was step one. Step one also altered our plans a little bit when one of the holly bush stumps (clearly rooted at the earth's inner core) would not come up. Our solution, poison it and build over it.
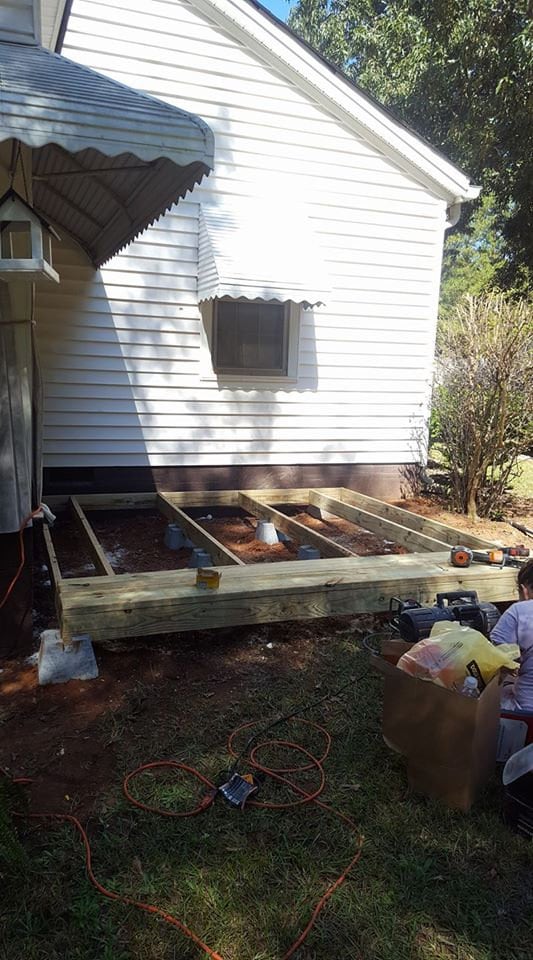
After my husband cleared all of the bushes out, it was time to start framing it. We used concrete deck blocks to frame it and stabilize the deck. We made it 12x12 to continue off the porch that was already there, but also no wood had to be cut (yes, you read that right)! We leveled the outside of the frame then went back to nail the supports in the middle (do not leave this step out if you plan to have parties or eat your weight in s'mores). Another thing that I envisioned is having this deck a different level than our porch so you could step down onto it (or just dramatically fall onto the couch as I like to do).
The next step was the most exciting because it was finally coming together (and little 6 year old ballerina Chelsea would have halted the production because my "stage" was finished). This step was to nail the deck boards down. It's super important that you get pressure treated wood for this so it will last. We used 2x10x12in boards so that joker isn't going anywhere! We made sure the space in between each board was the same distance by using a piece of 1/8 wood scrap as a spacer (keep in mind that pressure treated wood shrinks so the gap will get larger as it dries).
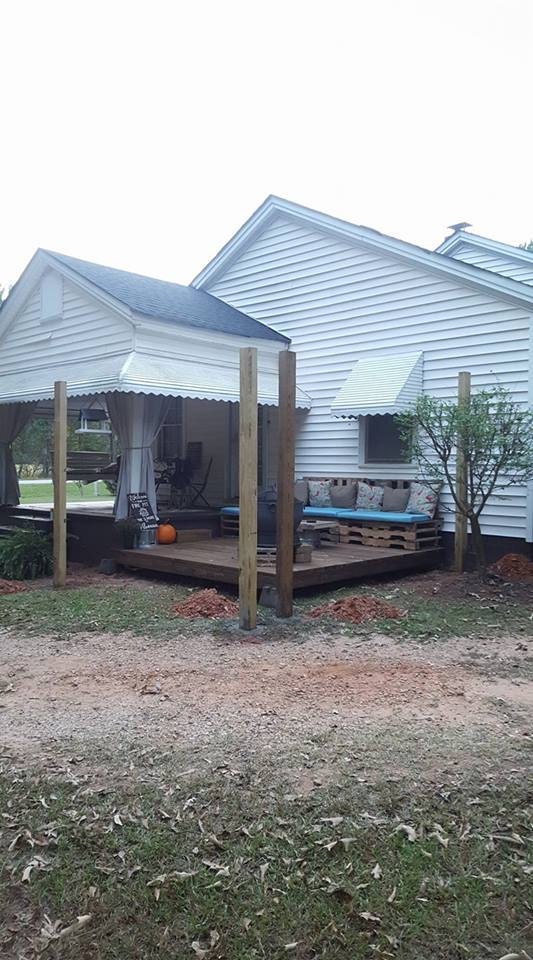
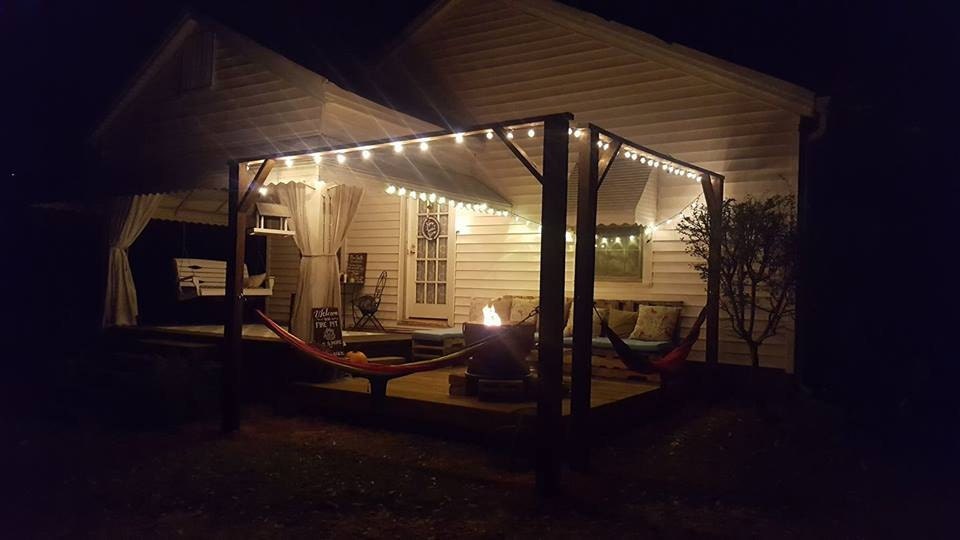
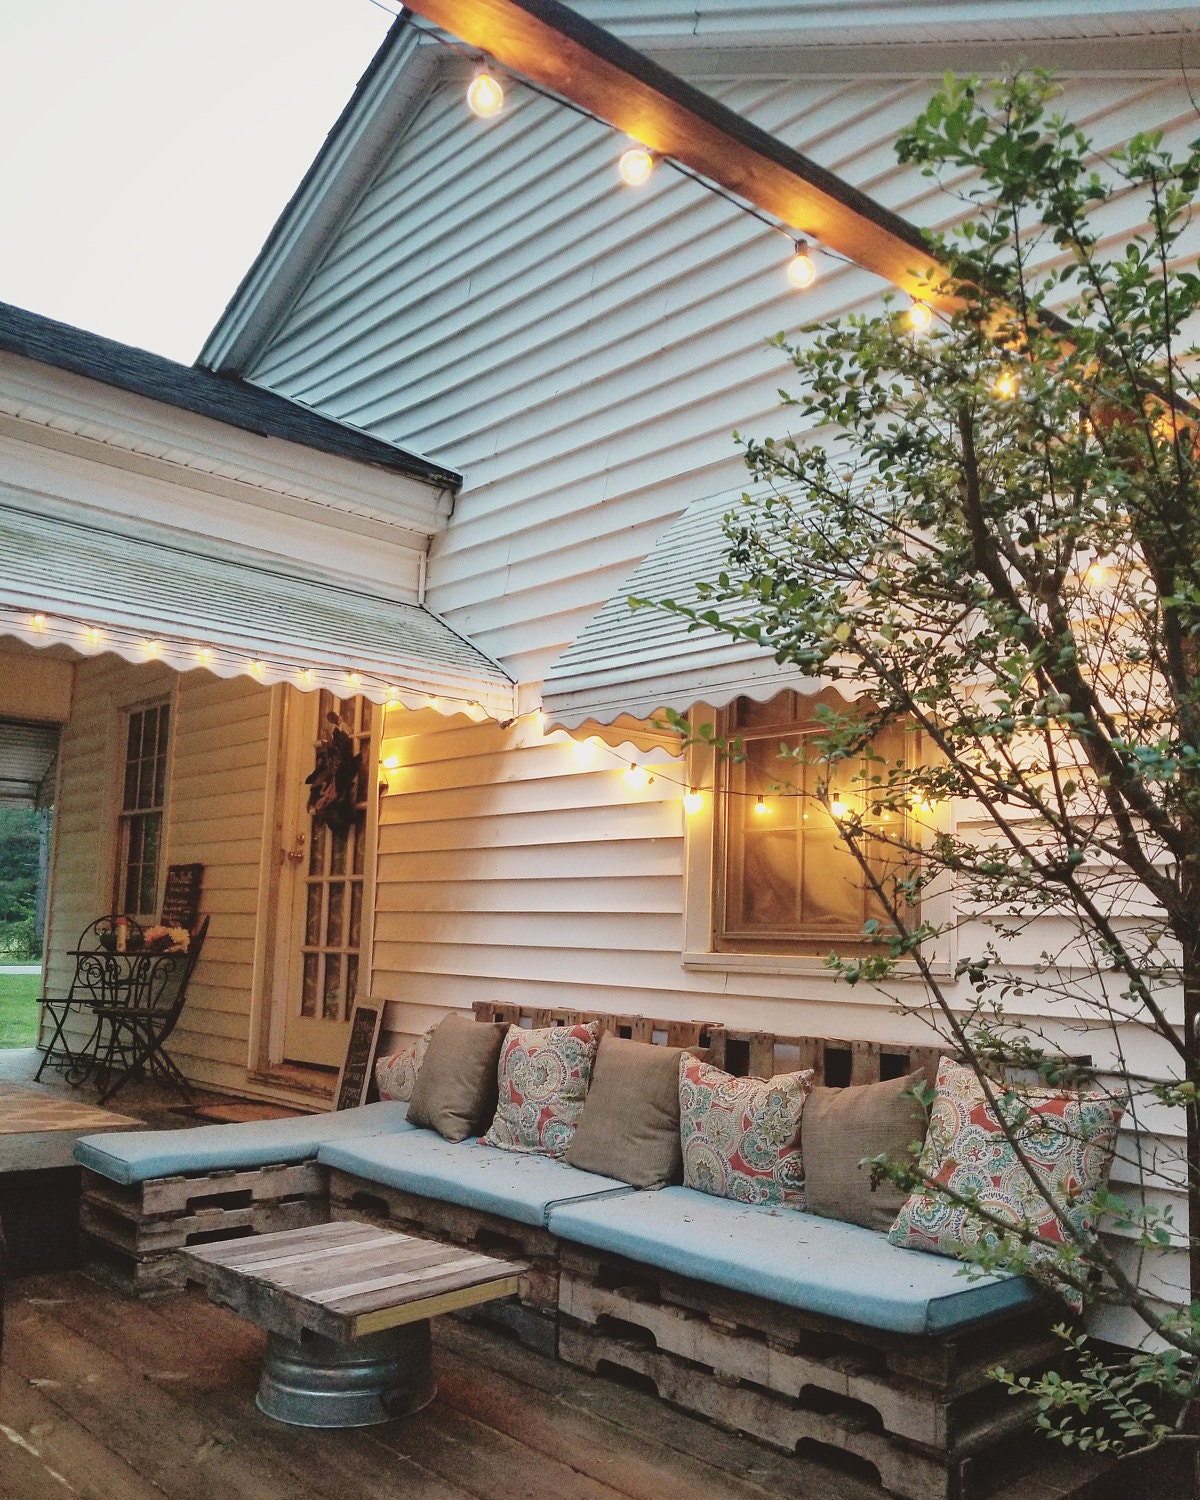
This next step is optional but I think it gives it more of a pergola feel, plus it is functional! We wanted a space where we could hang our Eno Hammocks and be able to look at the stars (pretty hard under a tree). So for this part we got 4x6x10 posts and dug 36 inch deep holes (make sure they're deep so they're sturdy). The posts are also spaced 10 feet apart so that the Enos fit perfectly between them without dealing with straps. Once the posts were level we concreted them in and added the galvanized eye hooks where the Enos clip on. Then to stabilize it more (and for looks) we added the beam at the top which also is adorned with party lights.
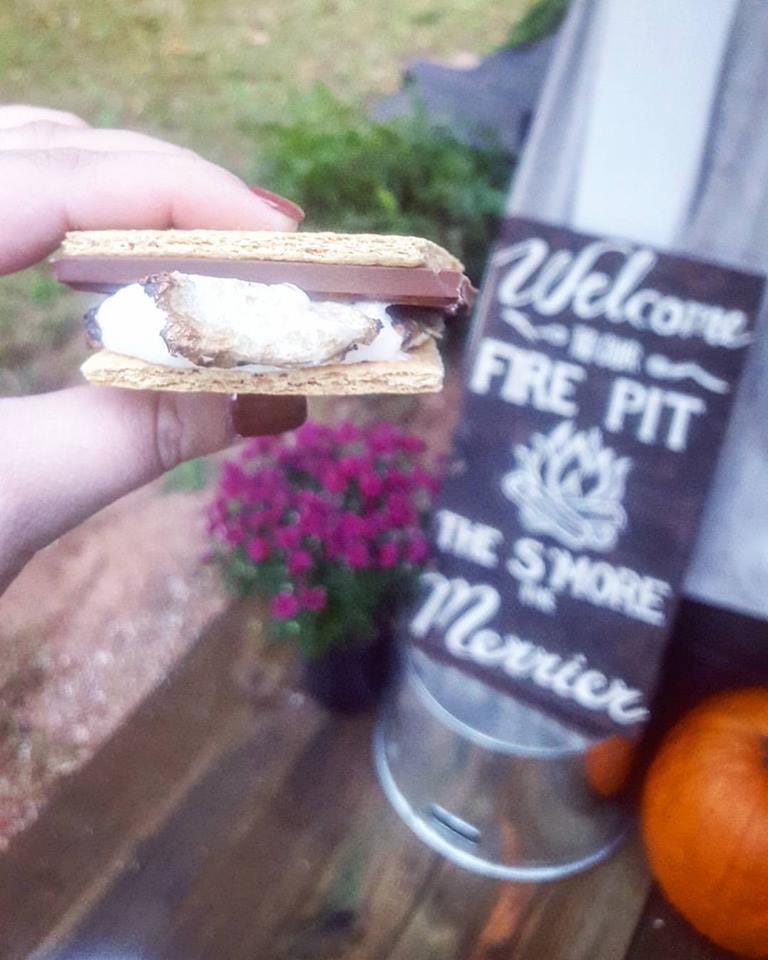
Next step is to stain it (finish line is in sight). You're "supposed" to wait until the pressure treated wood dries to stain it blah blah blah...I have absolutely NO patience so I stained it right away (spoiler alert, it's totally fine). After that we built a pallet couch (another day, another blog), added a little fire pit and BOOM! Hours of fun.
The whole project was around $400, but in return it's like we added on an extra room to the house. Inspiration doesn't always find you working hard at your desk, sometimes it finds us when we least expect it while swinging on the porch. Where do you feel inspired and what are you waiting for?